
The Catalog lists the systems in your landscape. These include the applications, business systems and partners that send or receive data through your interfaces and End-to-End integrations.
Purpose: Maintain the systems assigned to your interfaces, classify them using properties and see which interfaces and End-to-End integrations each system is involved in.
Navigate to Inventory → Systems → Catalog to open the list.
Catalog
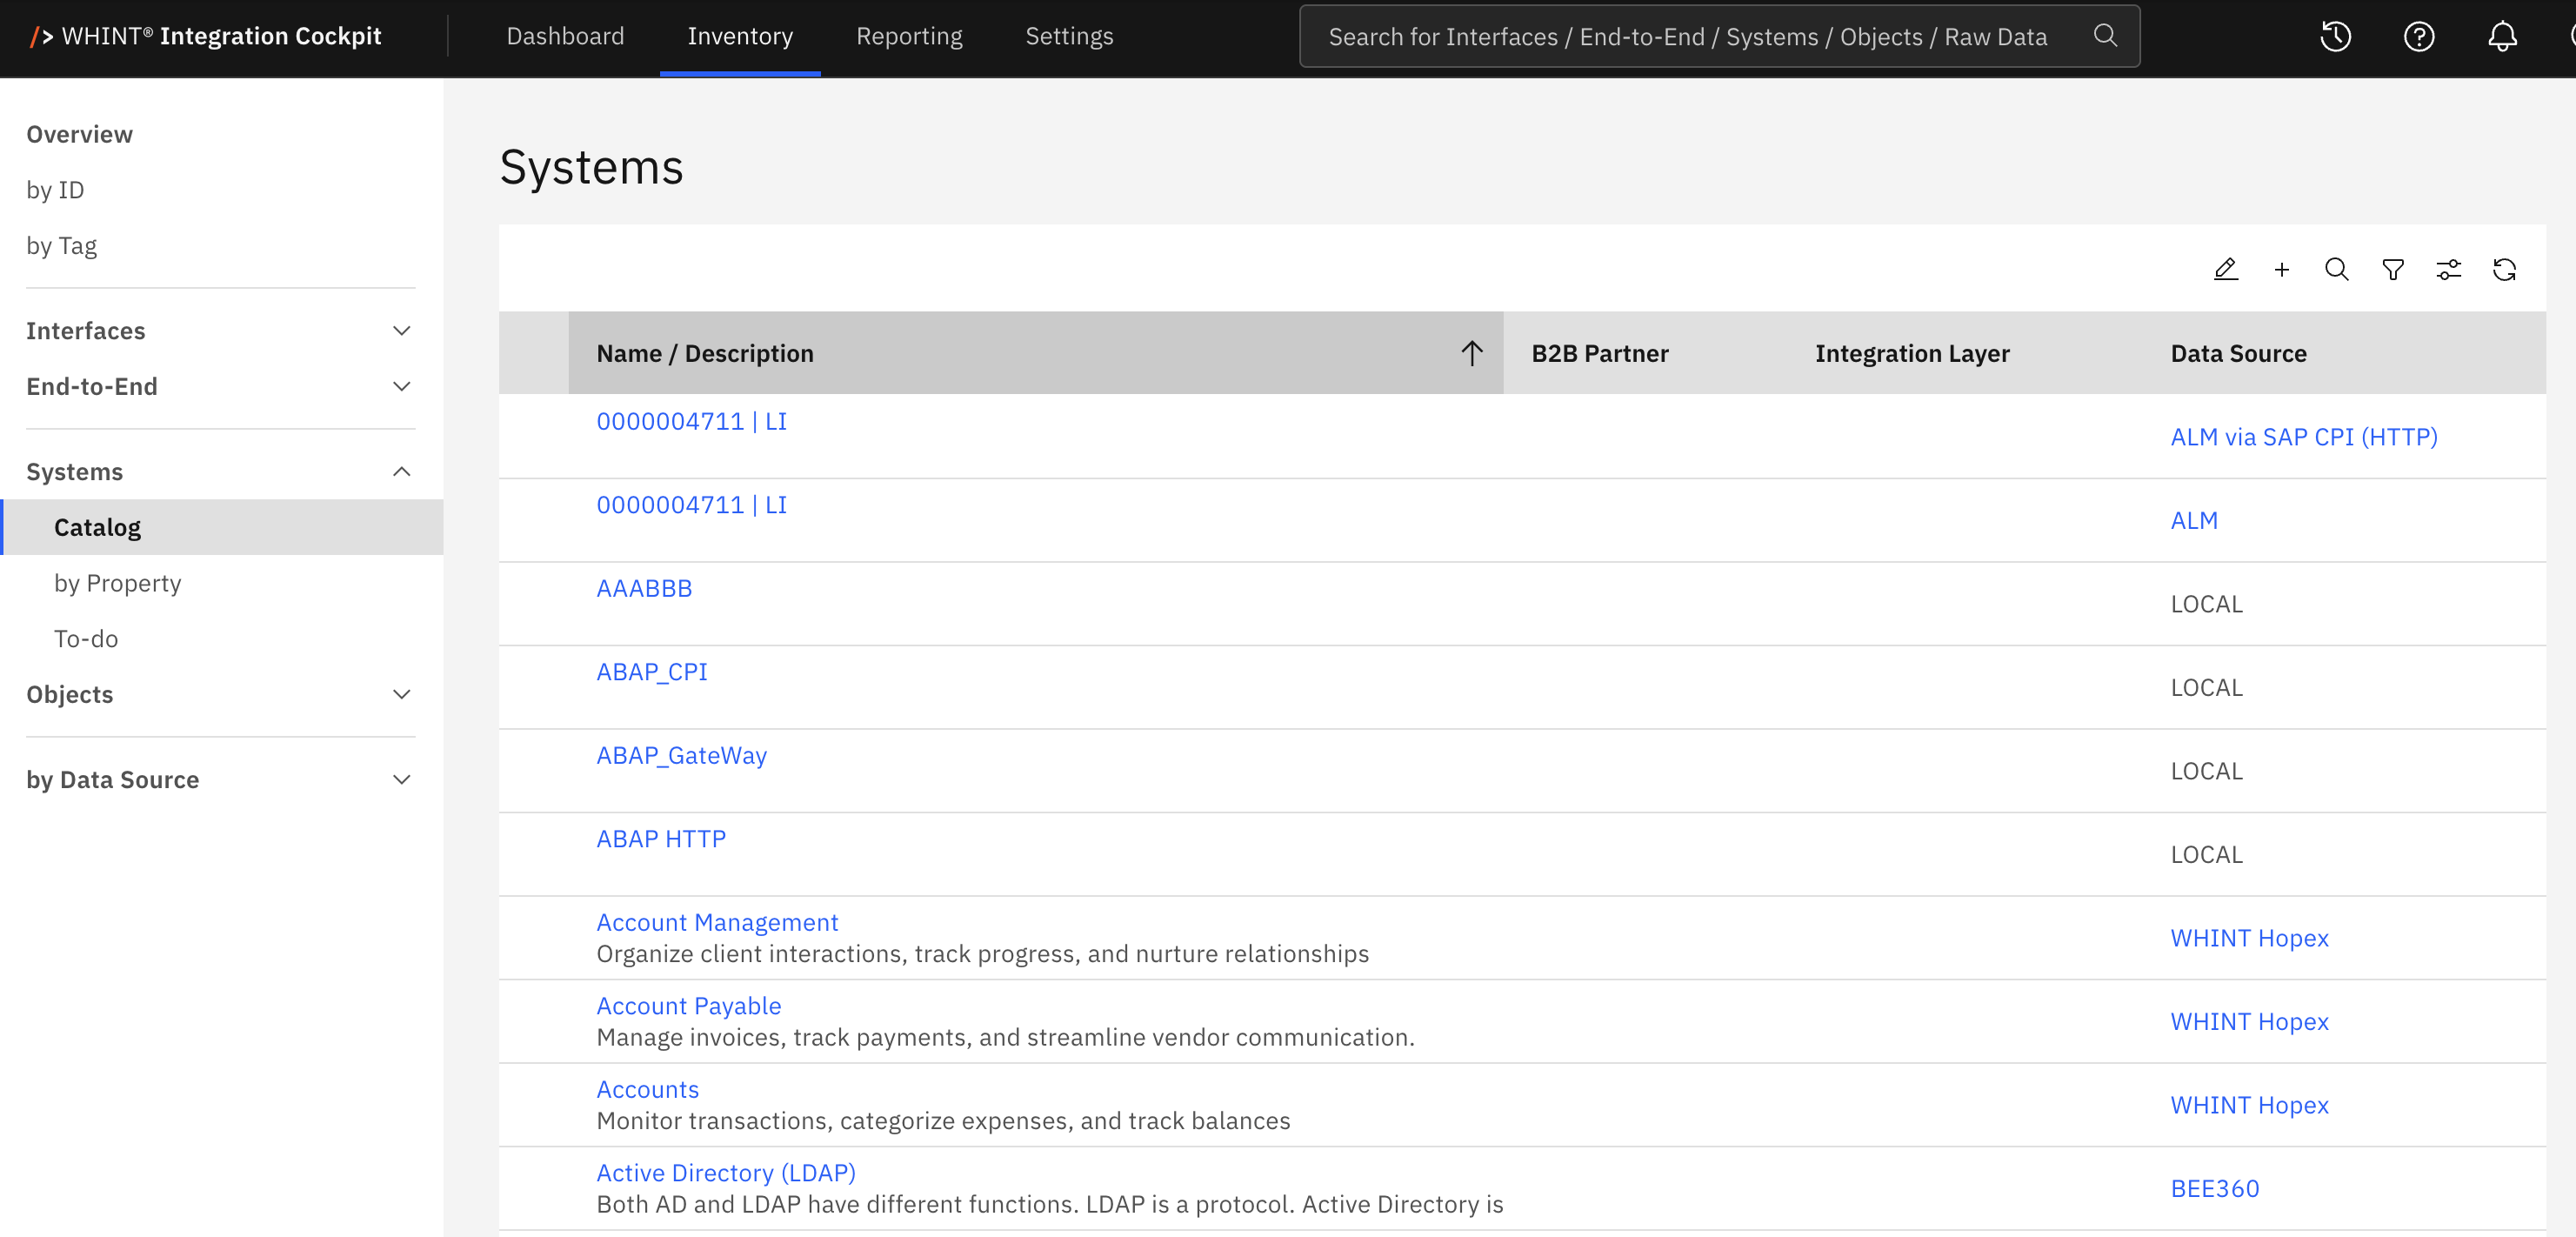
The list displays Name / Description, B2B Partner, Integration Layer and Data Source. It is sorted by name. Use Configure columns to show the Properties and Metadata columns. Each displays the first two entries, followed by +N more if additional entries exist.
|
Column |
Meaning |
|---|---|
|
B2B Partner |
A check mark indicates that the system is marked as an external business partner. This flag is set in the system details. |
|
Integration Layer |
A check mark indicates that the system represents an integration platform connected as a data source, for example, a Cloud Integration tenant. |
|
Data Source |
Shows the data source from which the system originates. LOCAL indicates that the system was created manually. |
Where Systems Come From
The cockpit does not create a system for every sender or receiver name found in your interfaces. Systems come from three sources:
-
Add — Systems created manually in this catalog.
-
EAM tools — Systems imported from a connected enterprise architecture tool, such as LeanIX, HOPEX, LUY or Bee360. For setup instructions, see EAM & IT Management Tools in the Onboarding Guide.
-
Data sources — Each connected data source also appears as a system with the same name.
Interfaces are assigned to systems through the system mapping under Settings → Transformation Rules. If no rule maps a sender or receiver to a system, it remains a plain name on the interface and does not appear in this catalog.
Use logical system names without environment identifiers, for example, SAP S/4HANA instead of SAP S/4HANA PRD. This allows you to map interfaces from development, test and production landscapes to the same system.
Toolbar

|
Control |
What it does |
|---|---|
|
Mass maintenance for properties |
Switches the list to selection mode. Select multiple rows to add or remove properties for all selected systems, or delete the selected systems. |
|
Add |
Create new System — Prompts you to enter a name and opens the new system. |
|
Search |
Searches system names, descriptions, property values and metadata values. |
|
Filter |
Filters by Data Source, B2B Partner and Property. You can select a property with or without specifying a value. |
|
Configure columns |
Shows or hides columns, including Properties and Metadata. |
|
Reload |
Reloads the list. |
Mass maintenance and Add are only available to users with write permission.
System Detail View
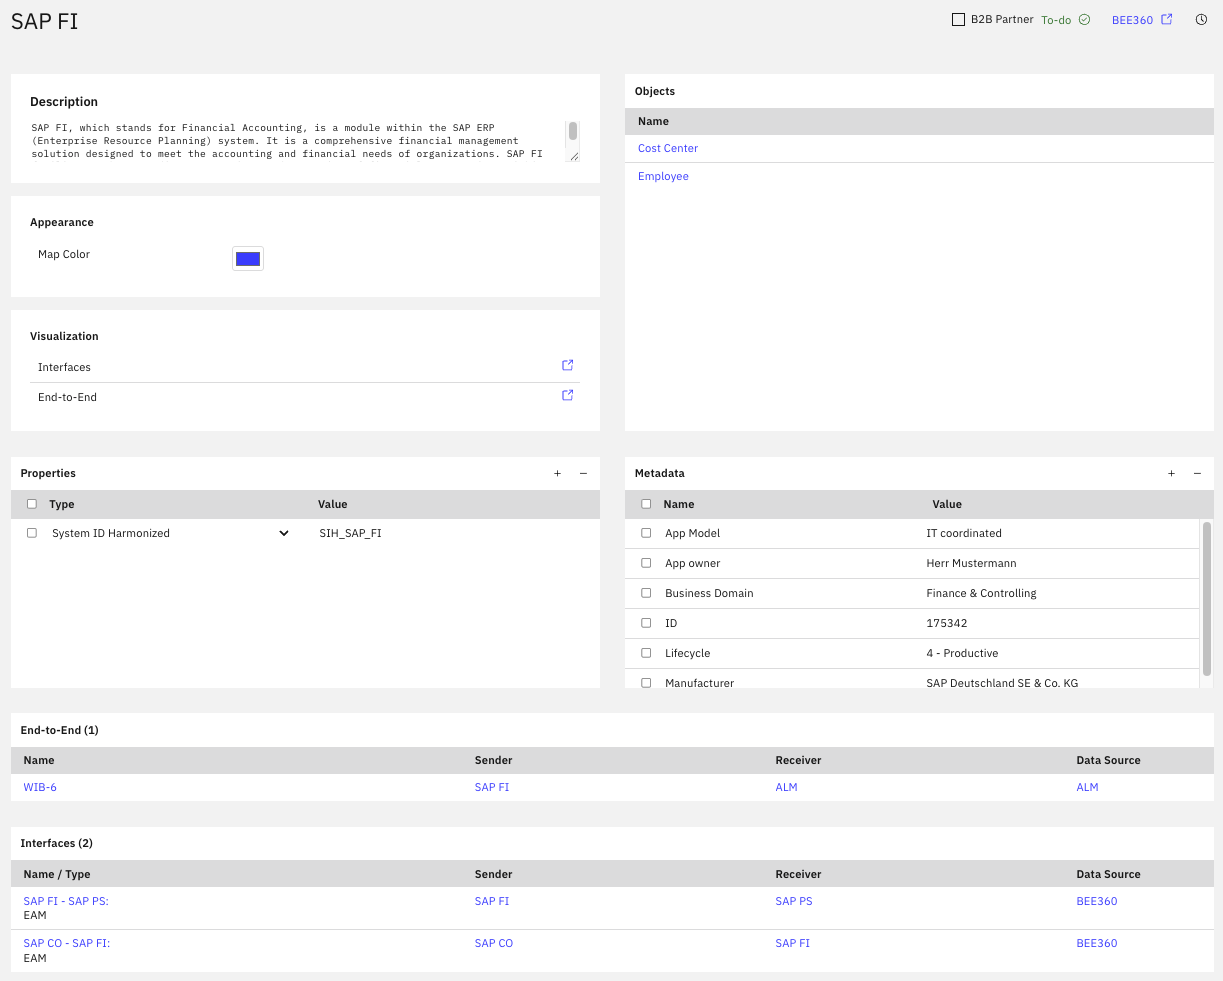
Click a system name to open its detail view. The page contains the following cards:
|
Card |
Content |
|---|---|
|
Description |
Free-text description of the system. |
|
Appearance |
Defines the system's Map Color. |
|
Visualization |
Links to visualizations of the system. Only displayed if the system has interfaces or End-to-End integrations with another system. |
|
Objects |
Business objects used by the system's interfaces. Read-only. |
|
Properties |
Classification of the system using your own properties. |
|
Metadata |
Name-value pairs, for example, attributes provided by an EAM tool for the system. |
|
End-to-End |
End-to-End integrations in which the system is the sender or main receiver. The card title shows the number of integrations. |
|
Interfaces |
Interfaces in which the system is the sender or receiver. The card title shows the number of interfaces. |
The page header provides the following elements:
-
Integration Layer — A green tag next to the system name indicates that the system represents an integration platform.
-
B2B Partner — Marks the system as an external business partner. The change is saved with Save.
-
To-do — Opens the system's configuration checklist (see below).
-
Data Source — A button showing the name of the source from which the system originates. Opens the corresponding data source settings.
-
Show Changes — Displays the change history.
Appearance
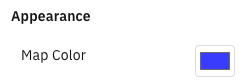
Map Color defines the color of the system node in Reporting → Landscape → Visualization → Map → Interfaces and Map → End-to-End.
Select a color and click Save. Use Reset to default to remove the custom color.
Properties and Metadata
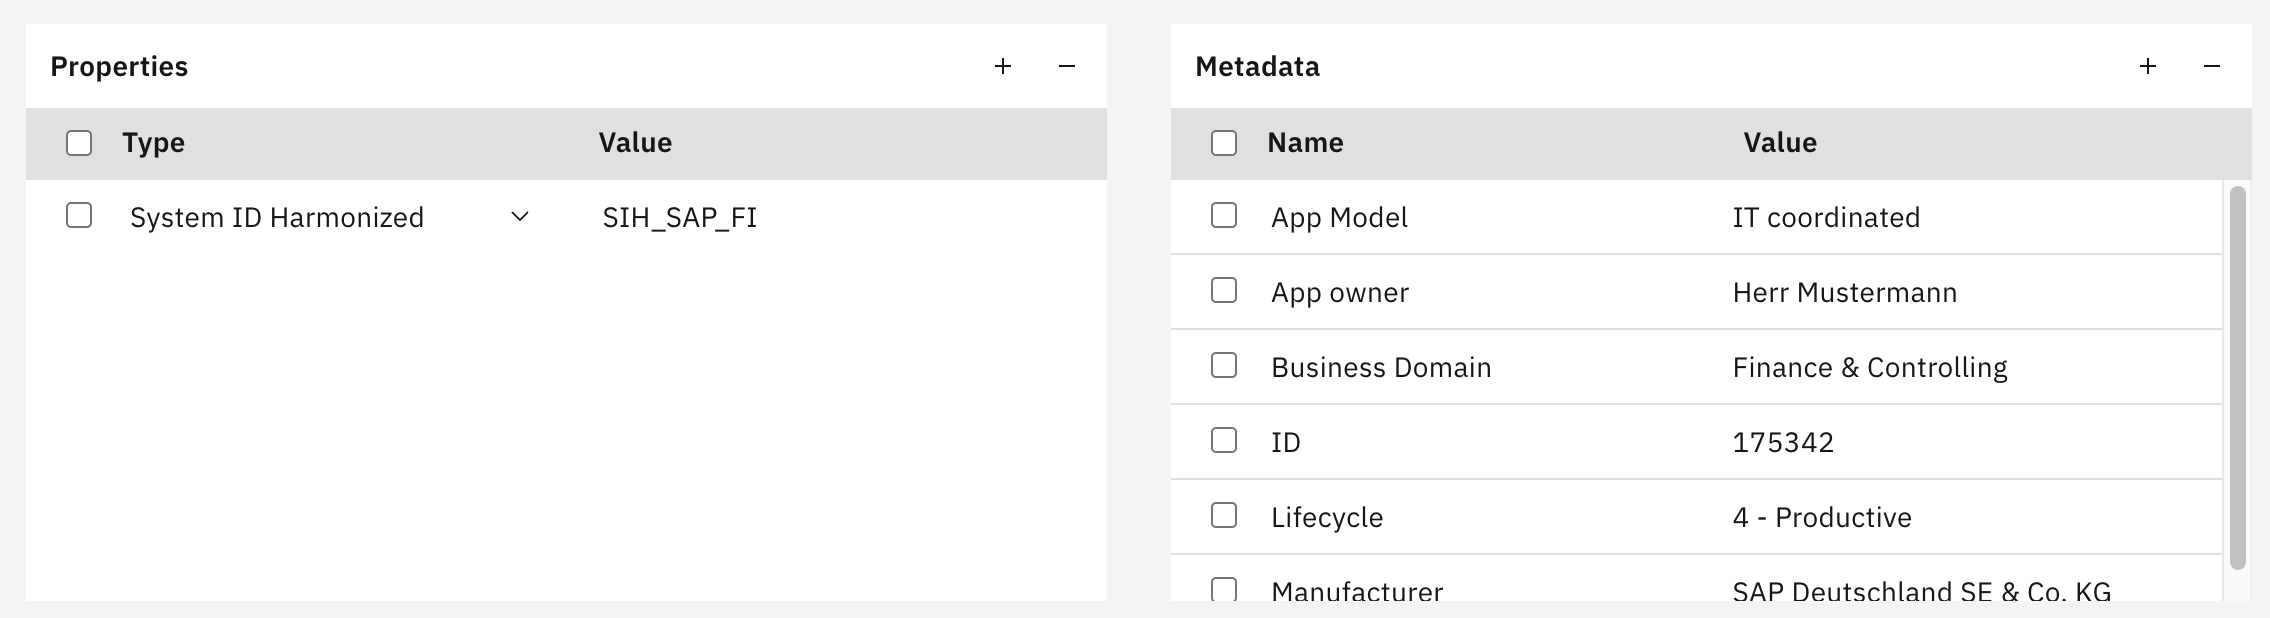
Use Add to insert a row and Remove to delete the selected rows. How you enter a property value depends on its property type: free text, a link or a selection from a value list. The available property types are defined under Settings → Properties → Overview.
If a property with the ID format has a value, an accordion below the cards lists all other systems with the same value, with one entry per ID. Systems with an empty ID value are ignored.
Configuration Checklist
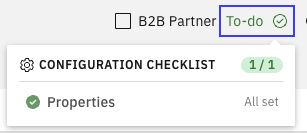
The To-do badge works similarly to the one used for End-to-End integrations. It contains a single check: Properties.
Depending on the configuration under Settings → To-do, the check requires either at least one property or all property types marked as required for systems. If the check is disabled in the settings, the badge is not displayed.
End-to-End and Interfaces

Both tables only list entries in which the system is the sender or the main receiver. In the Receiver column of the Interfaces table, +N more indicates that an interface has additional receivers.
The following entries are not displayed here:
-
End-to-End integrations and interfaces in which the system is only an additional receiver.
-
End-to-End integrations and interfaces that have a tag value listed under
Settings → Tags → Ignore. -
Entries from other environments, when you open the system from
Reporting → Landscape → Overview with an environment selected.
Saving
|
Button |
What it does |
|---|---|
|
Save |
Saves all changes on the page, including B2B Partner and Map Color. Ctrl+S (Cmd+S on macOS) does the same. |
|
Cancel |
Returns to the previous view without saving changes. |
|
Delete |
Deletes the system after confirmation. |
Users without write permission only see the Cancel button.
Related Documentation
-
Settings → Transformation Rules — Assign interfaces to systems.
-
Settings → Systems — Configure the system ID properties displayed below sender and receiver names.
-
Settings → Properties → Overview — Define the property types available for systems.
-
Settings → To-do — Configure the system checklist.
-
Settings → Tags → Ignore — Exclude interfaces and integrations based on tag values.
-
Inventory → End-to-End → Catalog — View End-to-End integrations.
-
Reporting → Landscape → Visualization → by System → Interfaces — View a system and its interfaces in a diagram.
-
Reporting → Landscape → Visualization → by System → End-to-End — View a system and its End-to-End integrations in a diagram.
Last Updated: November 3, 2026